


As a kid growing up in the sixties and seventies, there was only one way to decorate Easter eggs. Of course we used food colorings, Q-tips and dipping wands. But using watercolors, either from a drugstore pan of paints or tubes from the craft store, can turn plain white eggs into colorful decorations.
Supplies needed:
XL eggs
Baby syringe and awl
Watercolor paints, water, small paint brushes
Q-tips

Step One:
Poke a small hole with an awl at the bottom of the egg and suction out the egg with a childrens’ syringe bulb. An extra squirt of water inside the egg after it is emptied ensures you got everything out. After I did that, I made some scrambled eggs (waste not/want not) and let the egg air dry overnight. The goal is to have a dry egg surface to paint.

Step Two:
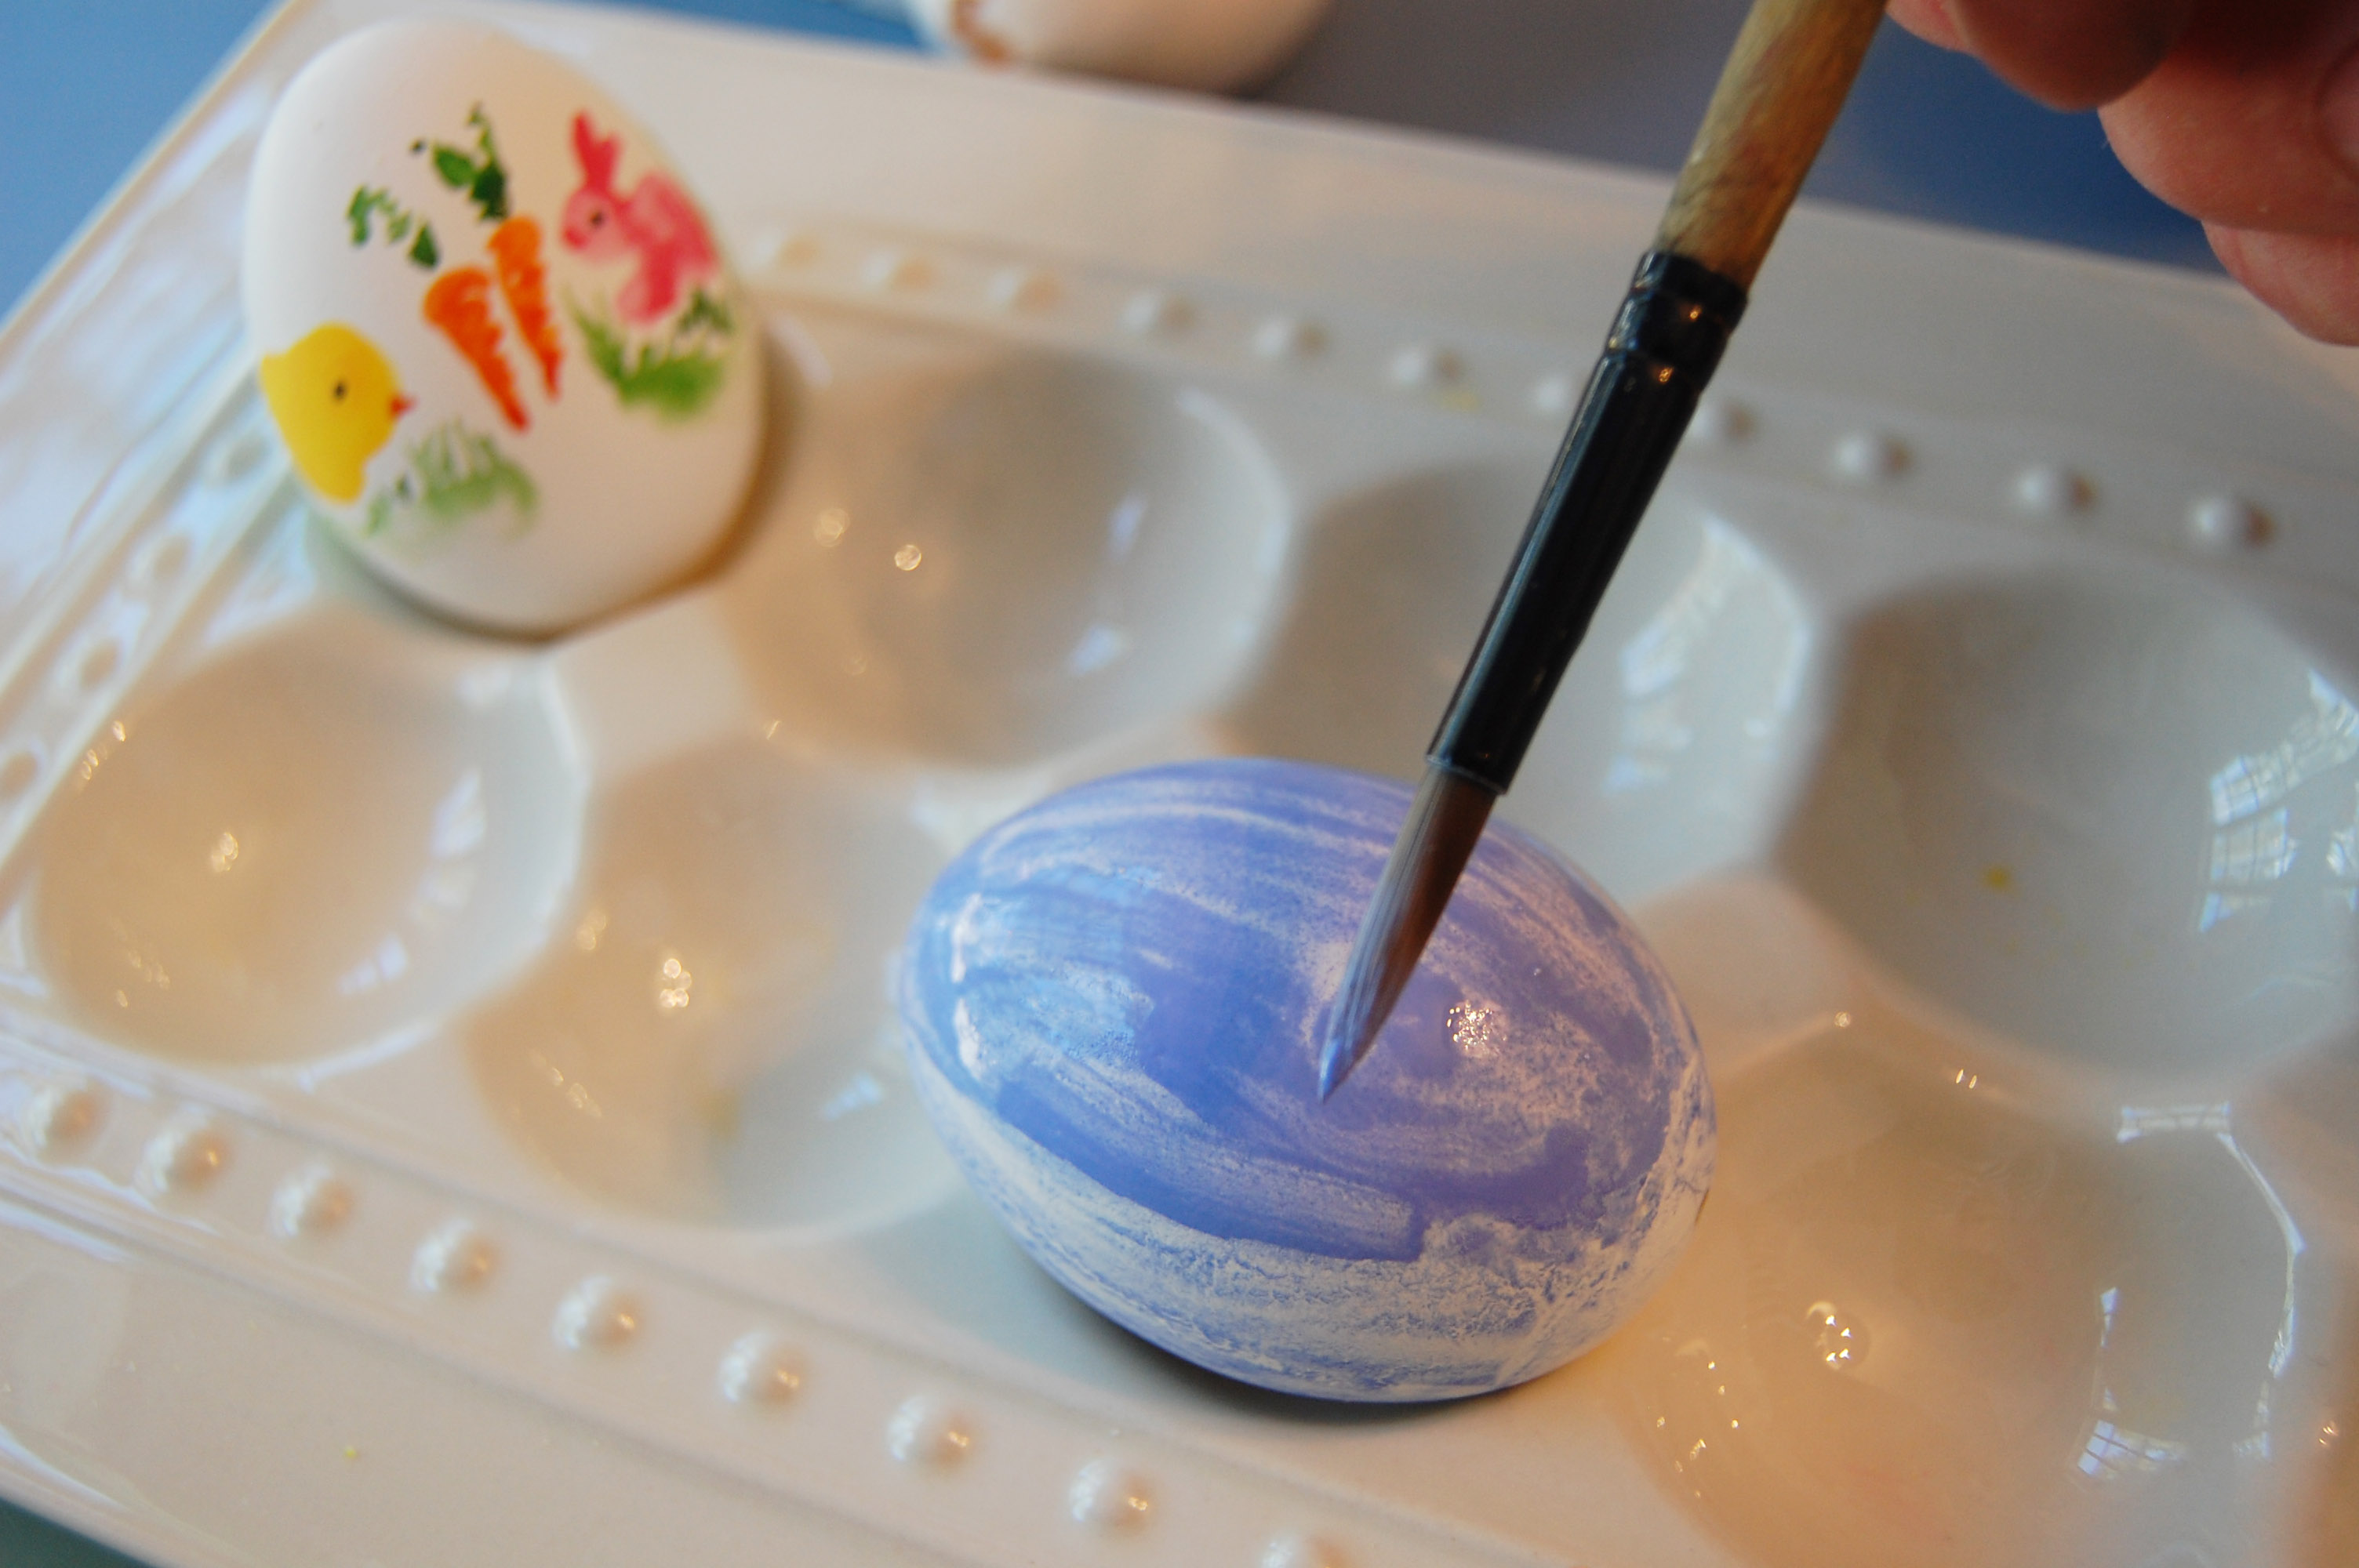
Using tube watercolors is fun because they come in a huge array of colors. All you do is add a squeeze of color to a few drops of water. Here I picked Easter hues of lavender, pinks, yellows, a green and a Robin’s egg blue (my favorite!). Pink mixed with yellow will make a great orange for painting carrots.

Step Three: Now paint!
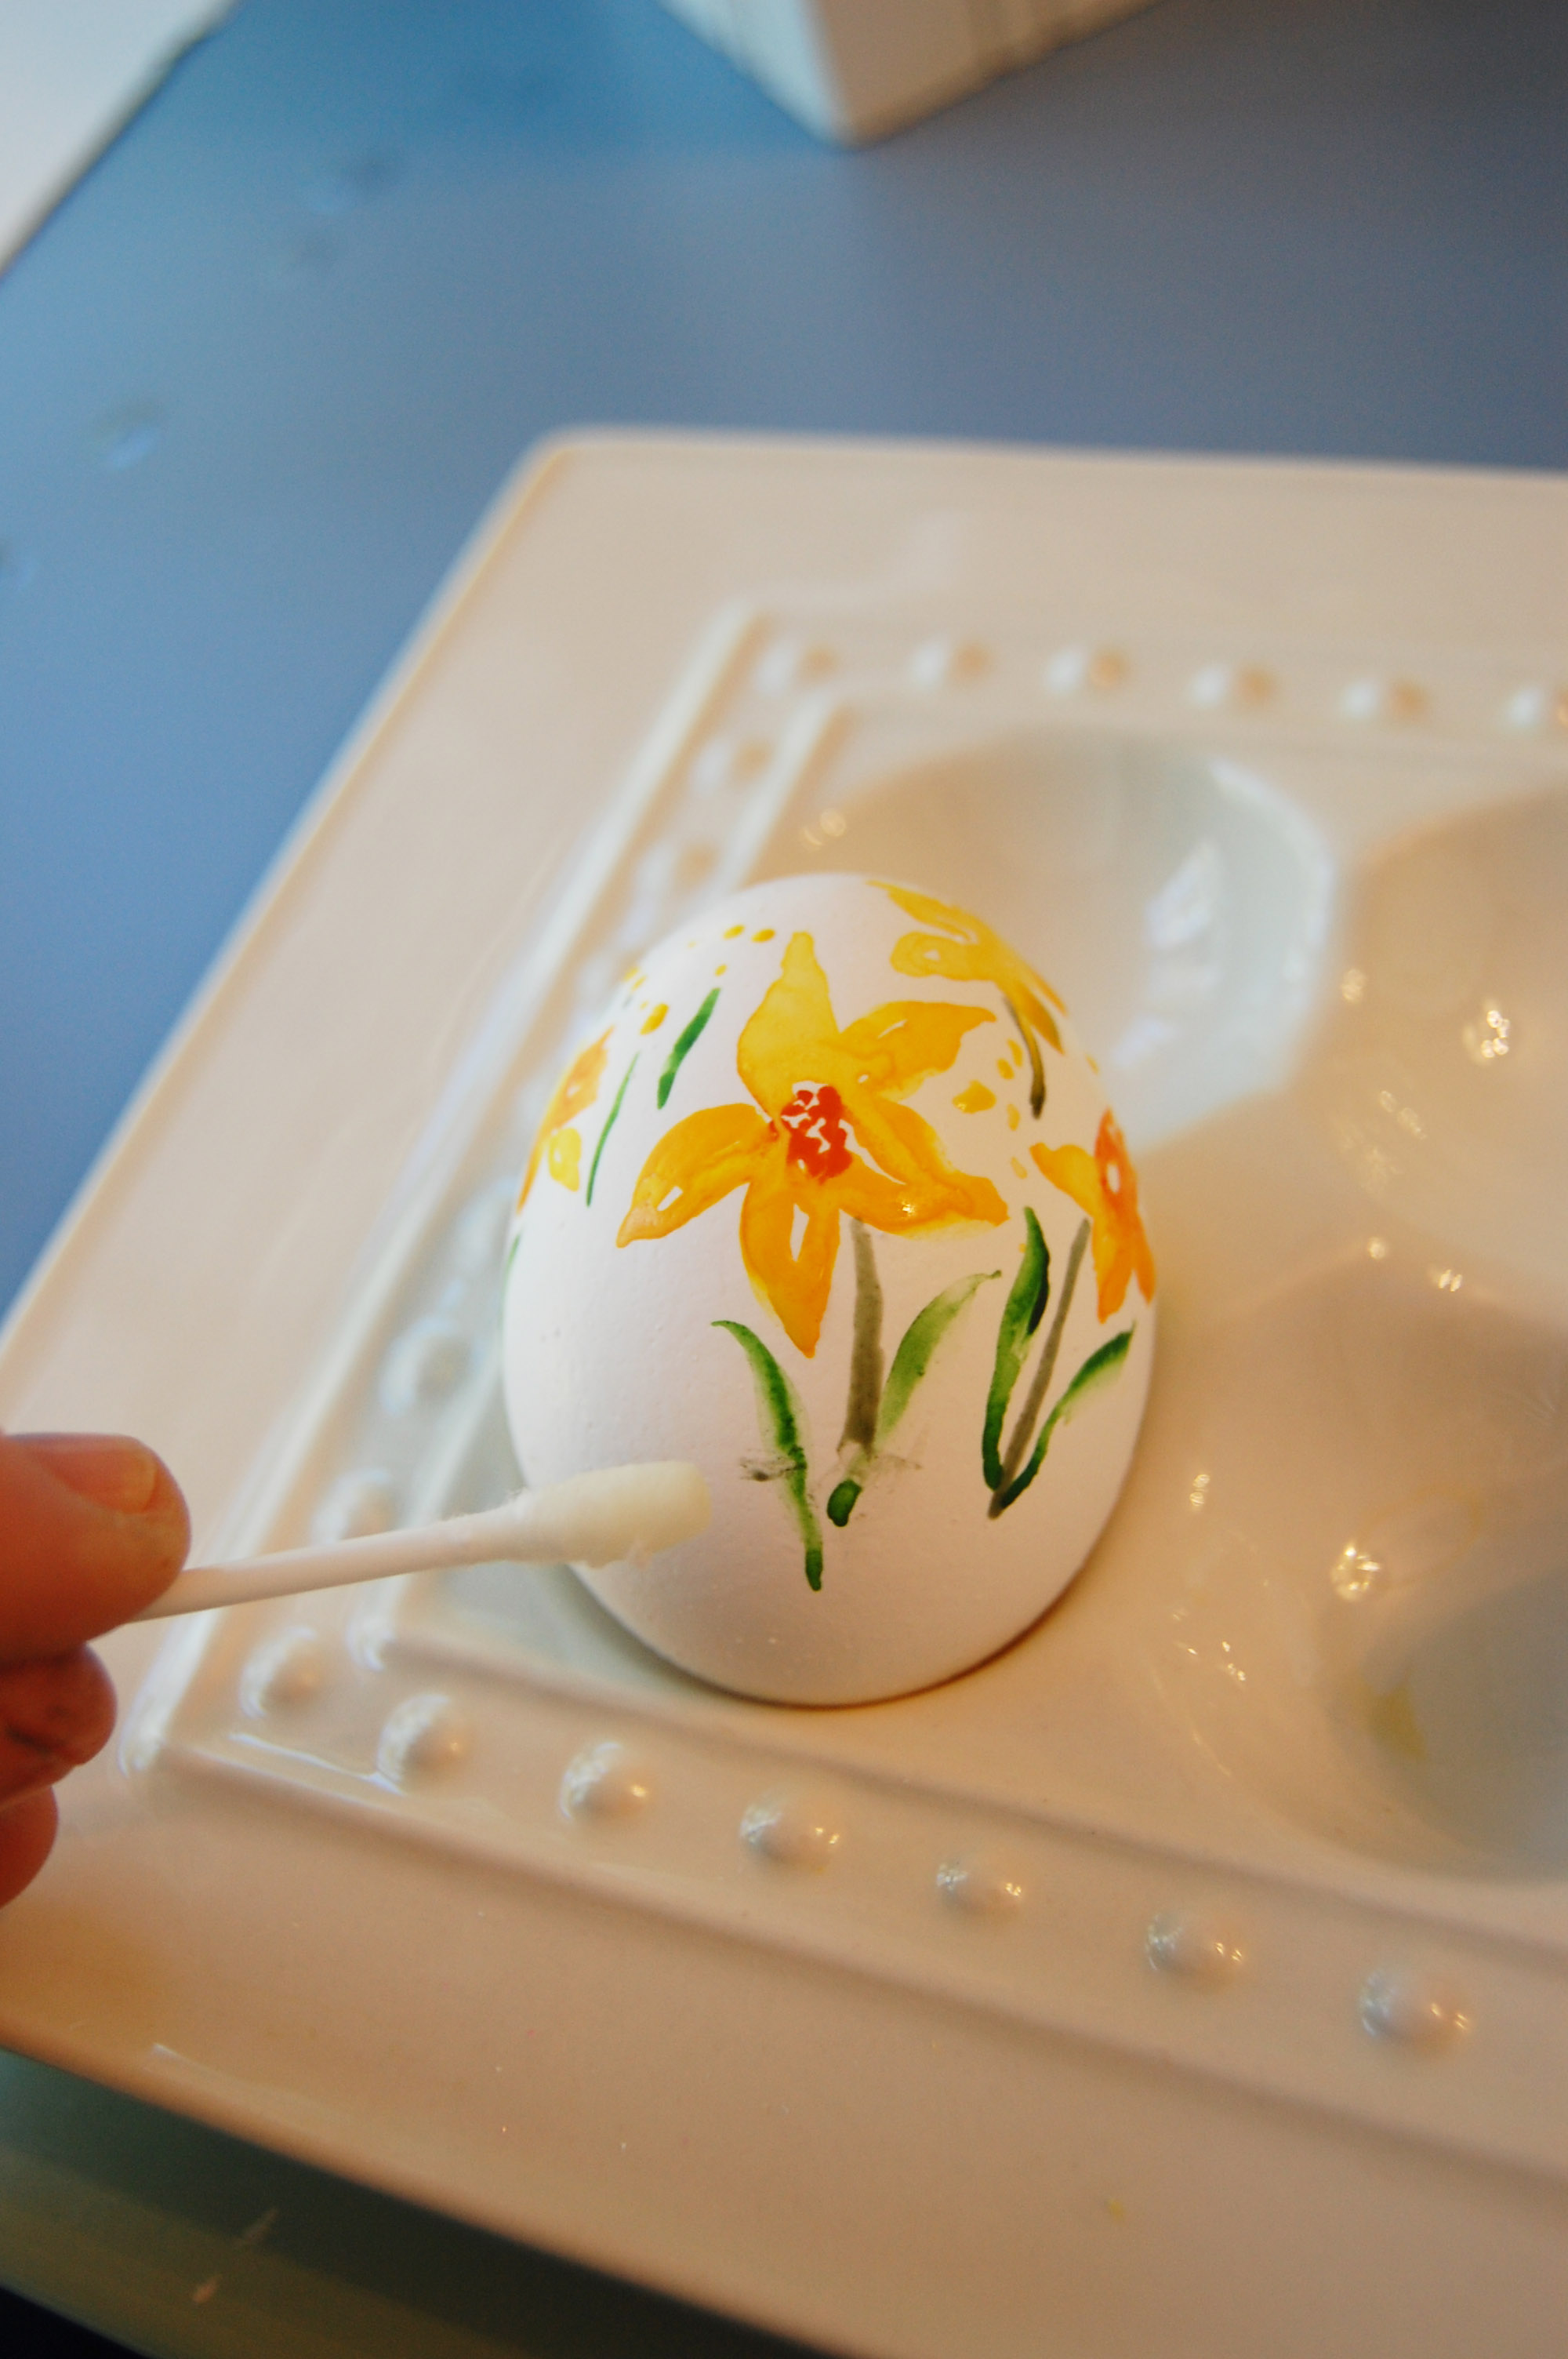
It’s good to use a brush for letters, flowers, and zig-zag lines. But it’s helpful to use Q-tips for circles and dots.
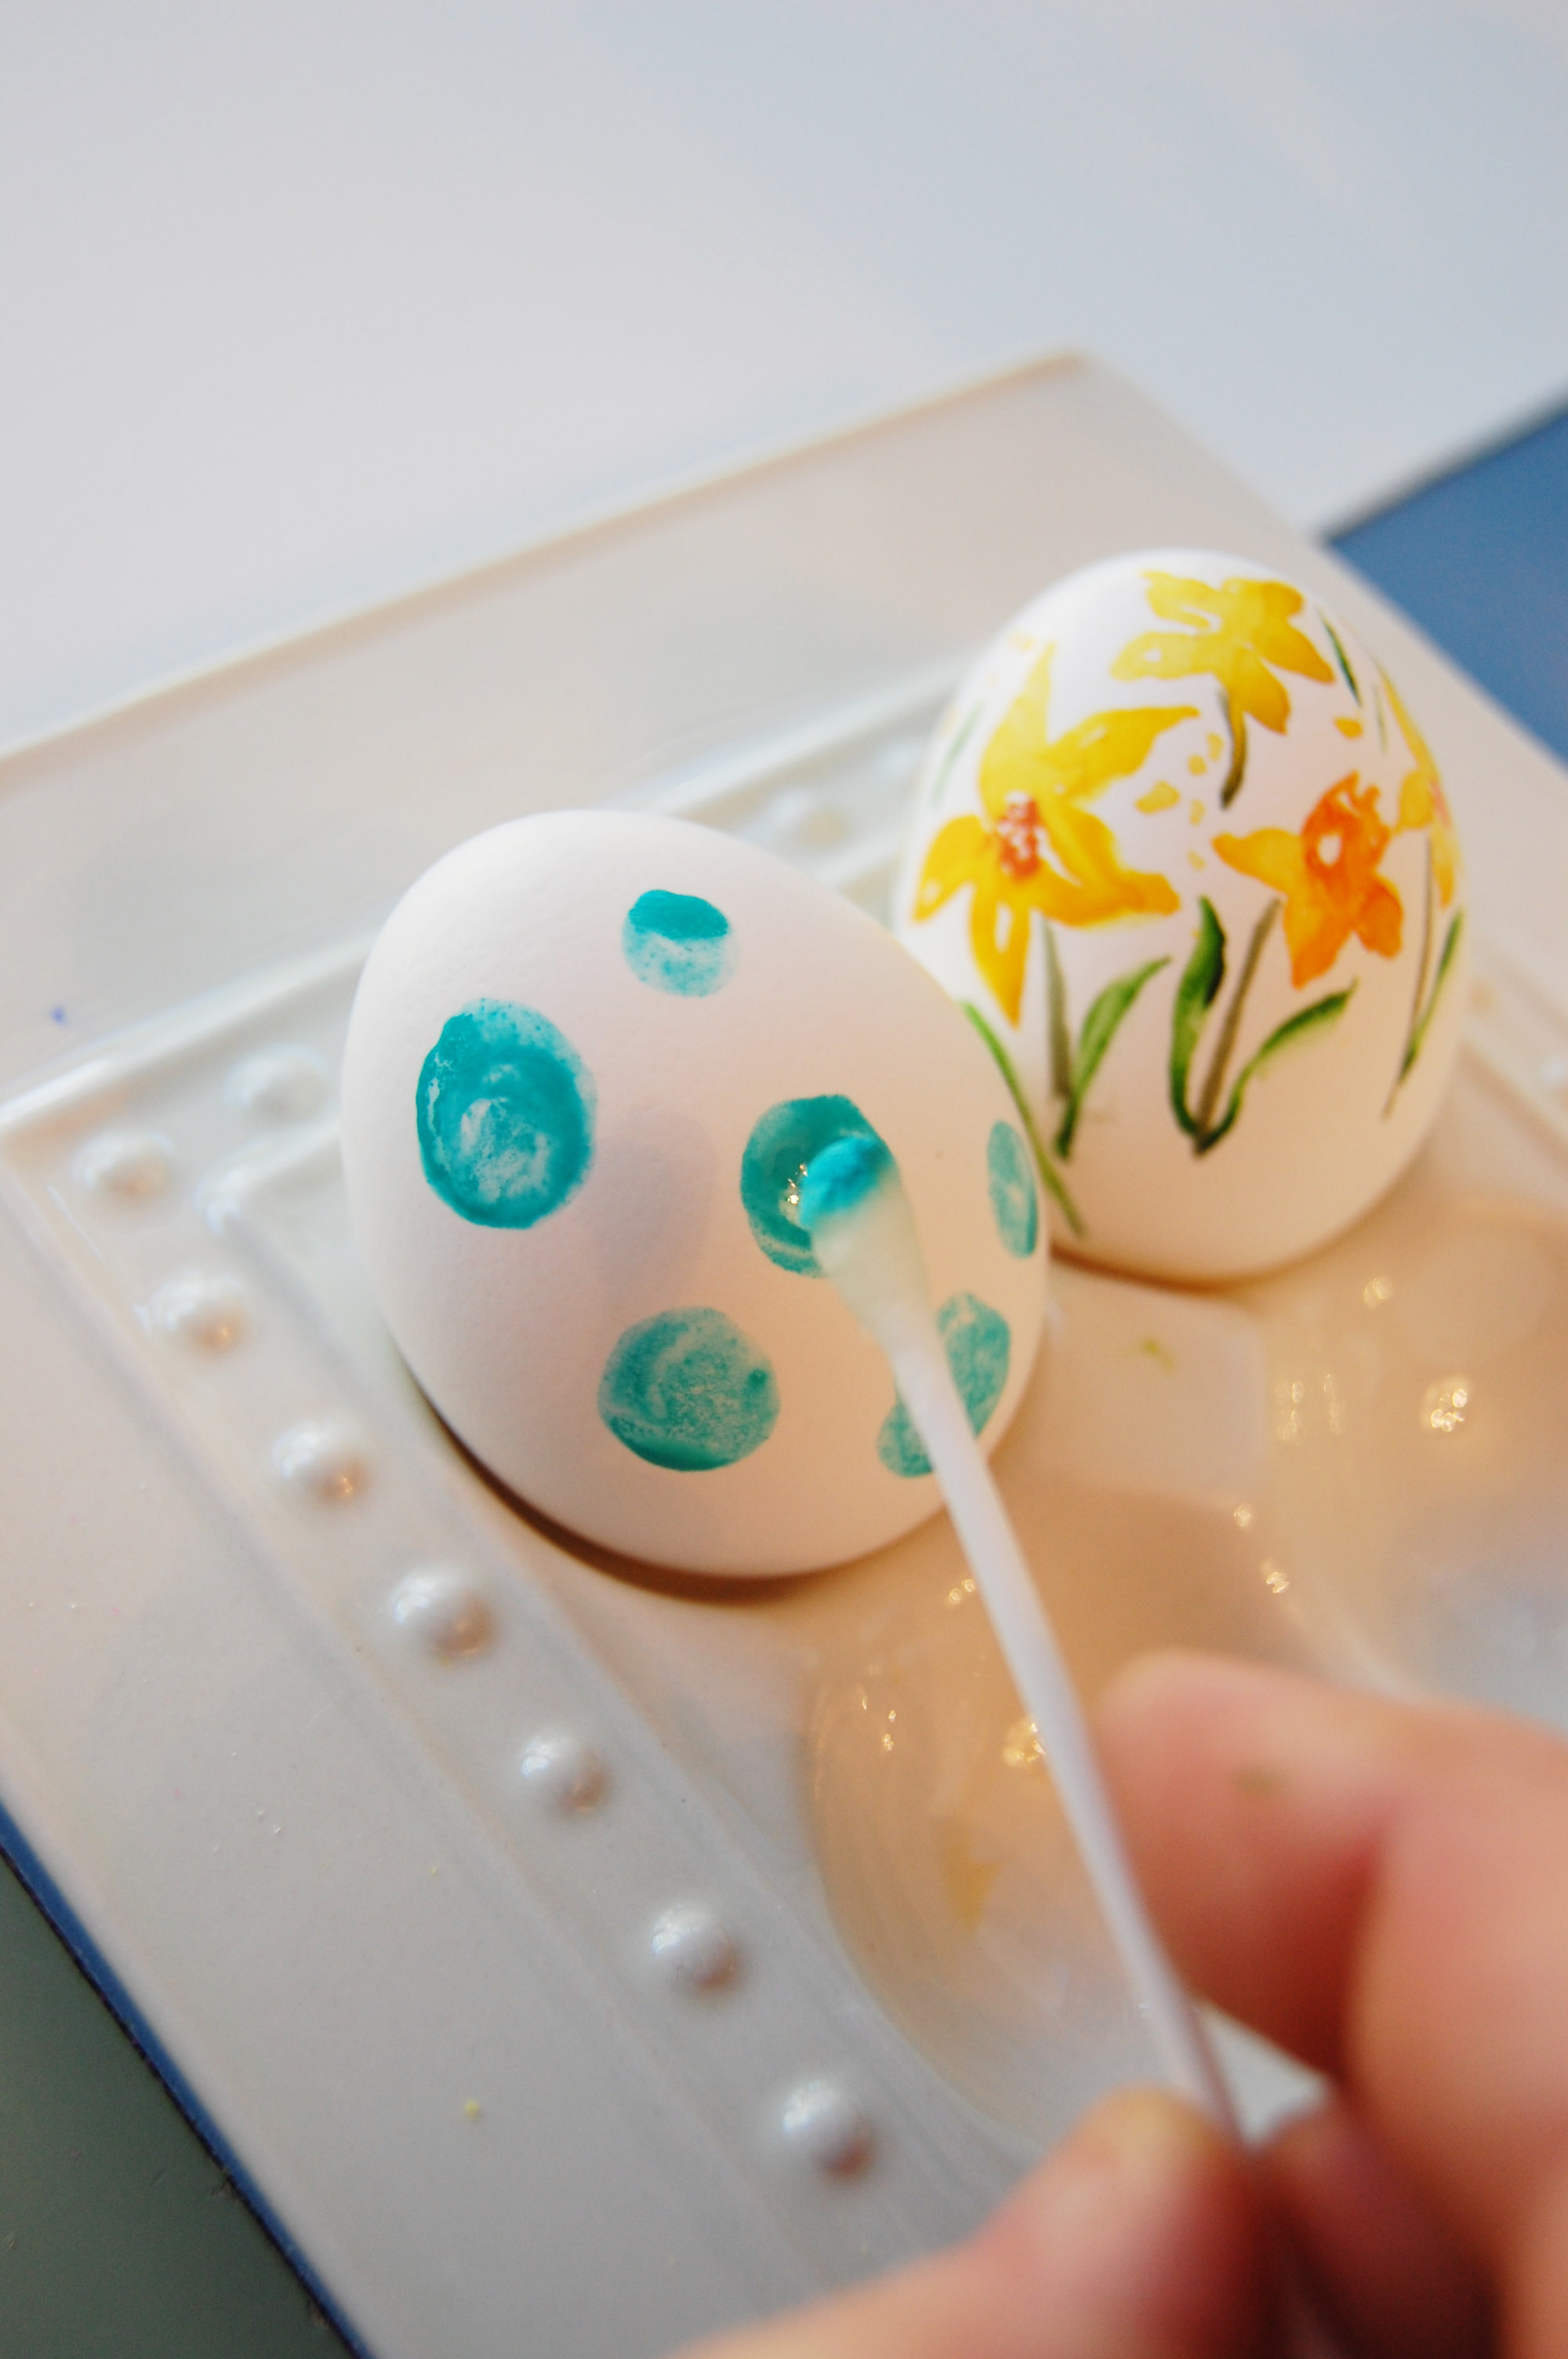
A Q-tip is also your best clean-up tool for mistakes. Just dip it in water and wipe off the mistake. It’s normal to need to erase sometimes because it’s challenging to work on an egg shape, even though it’s lying in this egg dish for stability. You can also place the egg in an egg cup while you paint the top half (let it dry) and then flip it upside down to paint the bottom half.
I love the soft effect of brushing the entire egg with watercolor. You can see the brushstrokes and the artist’s hand versus the flat effect of dying with food coloring.

Here’s my first half dozen. Can’t wait to paint some more!
Give it a try!
